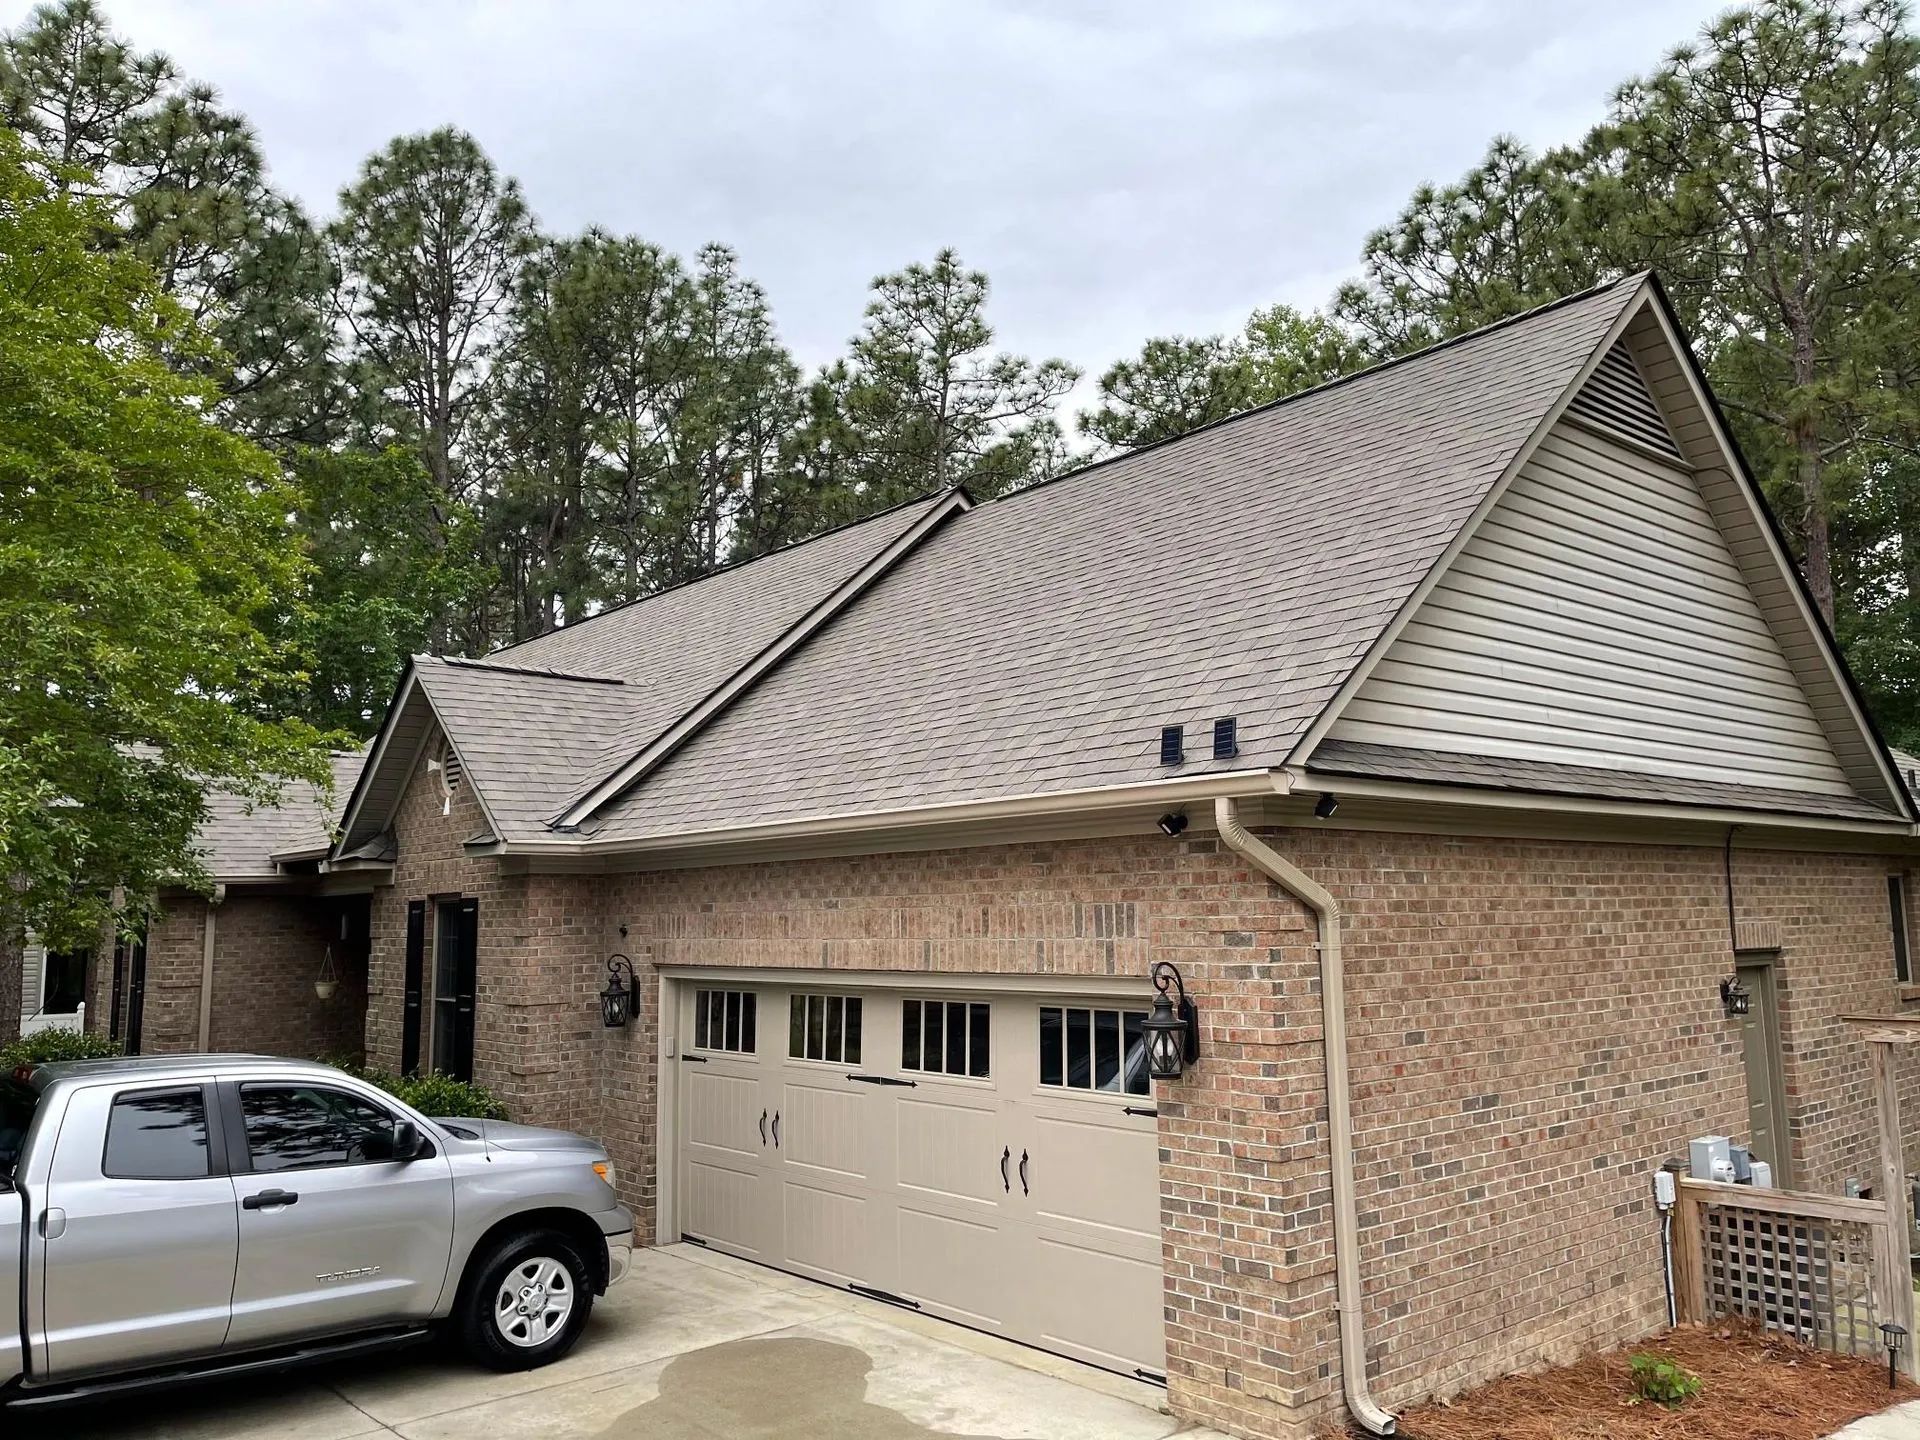
What to Expect During a Roof Replacement Project
Replacing a roof is one of the most significant investments a homeowner can make. While it is a major undertaking, understanding the process, timeline, and preparation steps can make the experience more manageable and less stressful. A roof replacement not only enhances the aesthetic appeal of a home but also ensures safety, energy efficiency, and protection against weather elements. With roofing projects ranging from minor repairs to full-scale replacements, having a clear expectation of each phase allows homeowners to plan effectively and make informed decisions.
Homeowners often face uncertainty when a roof reaches the end of its lifespan. Questions about costs, duration, disruptions, and material choices are common. By walking through the stages of a roof replacement—from initial inspection to project completion—this guide aims to clarify what homeowners should anticipate. Proper preparation and communication with contractors can lead to smoother execution, fewer surprises, and a more durable roof that serves the household for decades. Understanding the full scope of a roofing project is not just about convenience; it’s about ensuring long-term value, safety, and peace of mind.
1. Initial Assessment and Planning
Roof Inspection
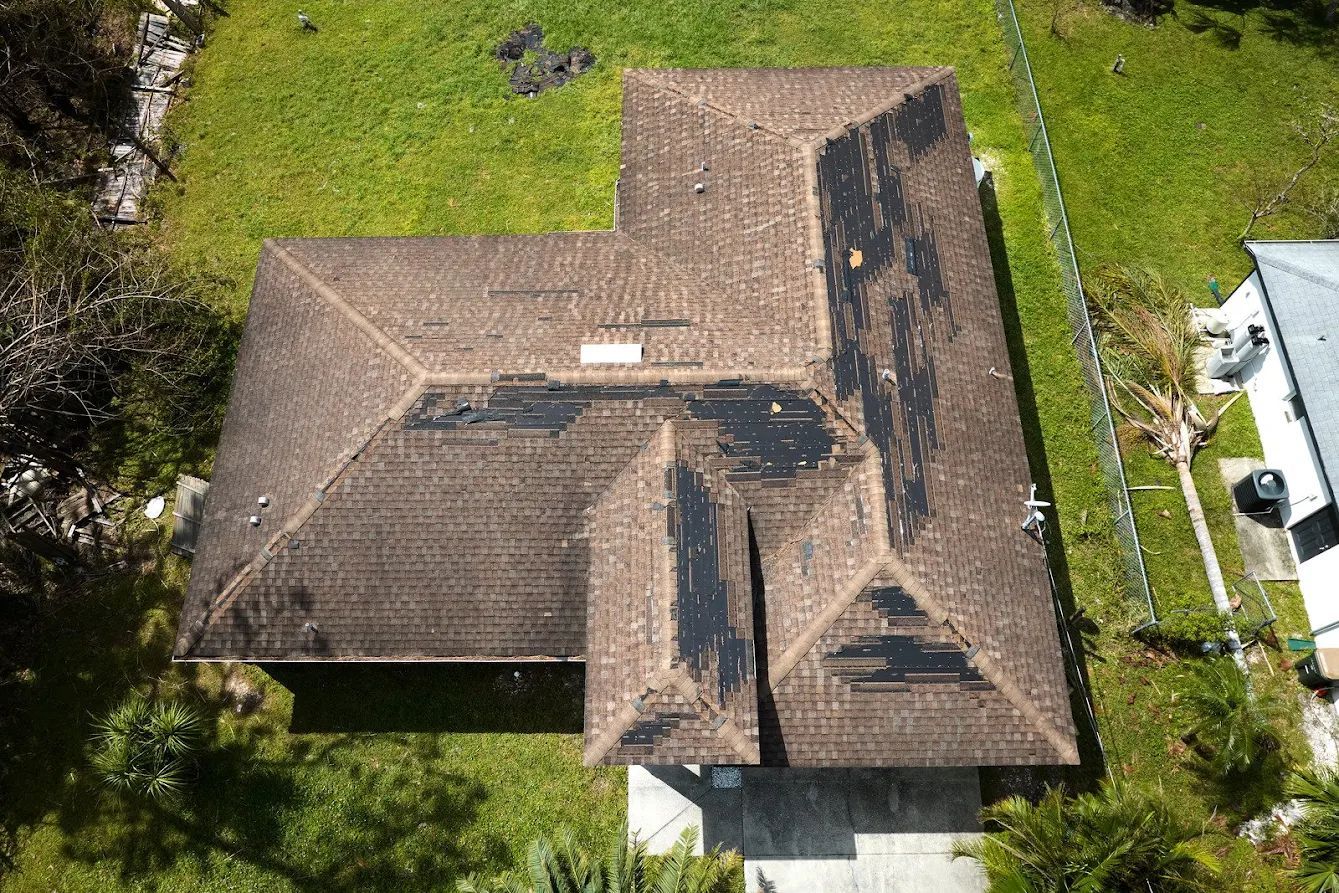
The first step in a roof replacement is a thorough inspection. A professional contractor examines the roof for signs of wear, damage, and structural issues. Common problems include missing shingles, leaks, rot, and deteriorating flashing. Inspectors also check the attic for signs of water intrusion or mold, which can indicate underlying issues that need addressing before new materials are installed.
Material Selection
Choosing the right roofing material is critical for both aesthetics and durability. Homeowners may select from asphalt shingles, metal roofing, clay tiles, or composite materials. Each option has its benefits, such as longevity, energy efficiency, or low maintenance. Contractors typically provide guidance based on local climate, budget, and the home’s architectural style. Selecting the right material upfront avoids delays during installation and ensures the new roof meets performance expectations.
Project Planning
Once the inspection and material selection are complete, contractors outline a project plan. This includes a timeline, estimated labor requirements, delivery schedules for materials, and contingency plans for weather delays. Proper planning minimizes surprises and helps homeowners coordinate schedules, especially if temporary arrangements for pets or children are necessary. Clear communication at this stage lays the foundation for a successful replacement project.
2. Preparing the Home
Protecting the Property
A roof replacement can generate debris and dust. Homeowners should prepare by moving vehicles away from the driveway and covering outdoor furniture. Landscaping close to the house may need protection with tarps or boards. Interior precautions, such as covering floors in attic spaces, can prevent damage from falling dust or materials.
Communicating with Neighbors
Roof replacement can be noisy and disruptive. Informing neighbors about the project timeline demonstrates courtesy and helps manage expectations. This is especially important in densely populated areas where construction noise may affect adjacent homes. Proactive communication can prevent complaints and foster goodwill during the project.
Safety Precautions
Contractors typically handle most safety measures, but homeowners should ensure children and pets remain indoors during active work hours. Avoiding entry into work zones reduces the risk of accidents. Homeowners can also review emergency contact protocols and ensure access routes are clear for the crew. These steps not only protect the household but also facilitate a smoother workflow for roofing professionals.
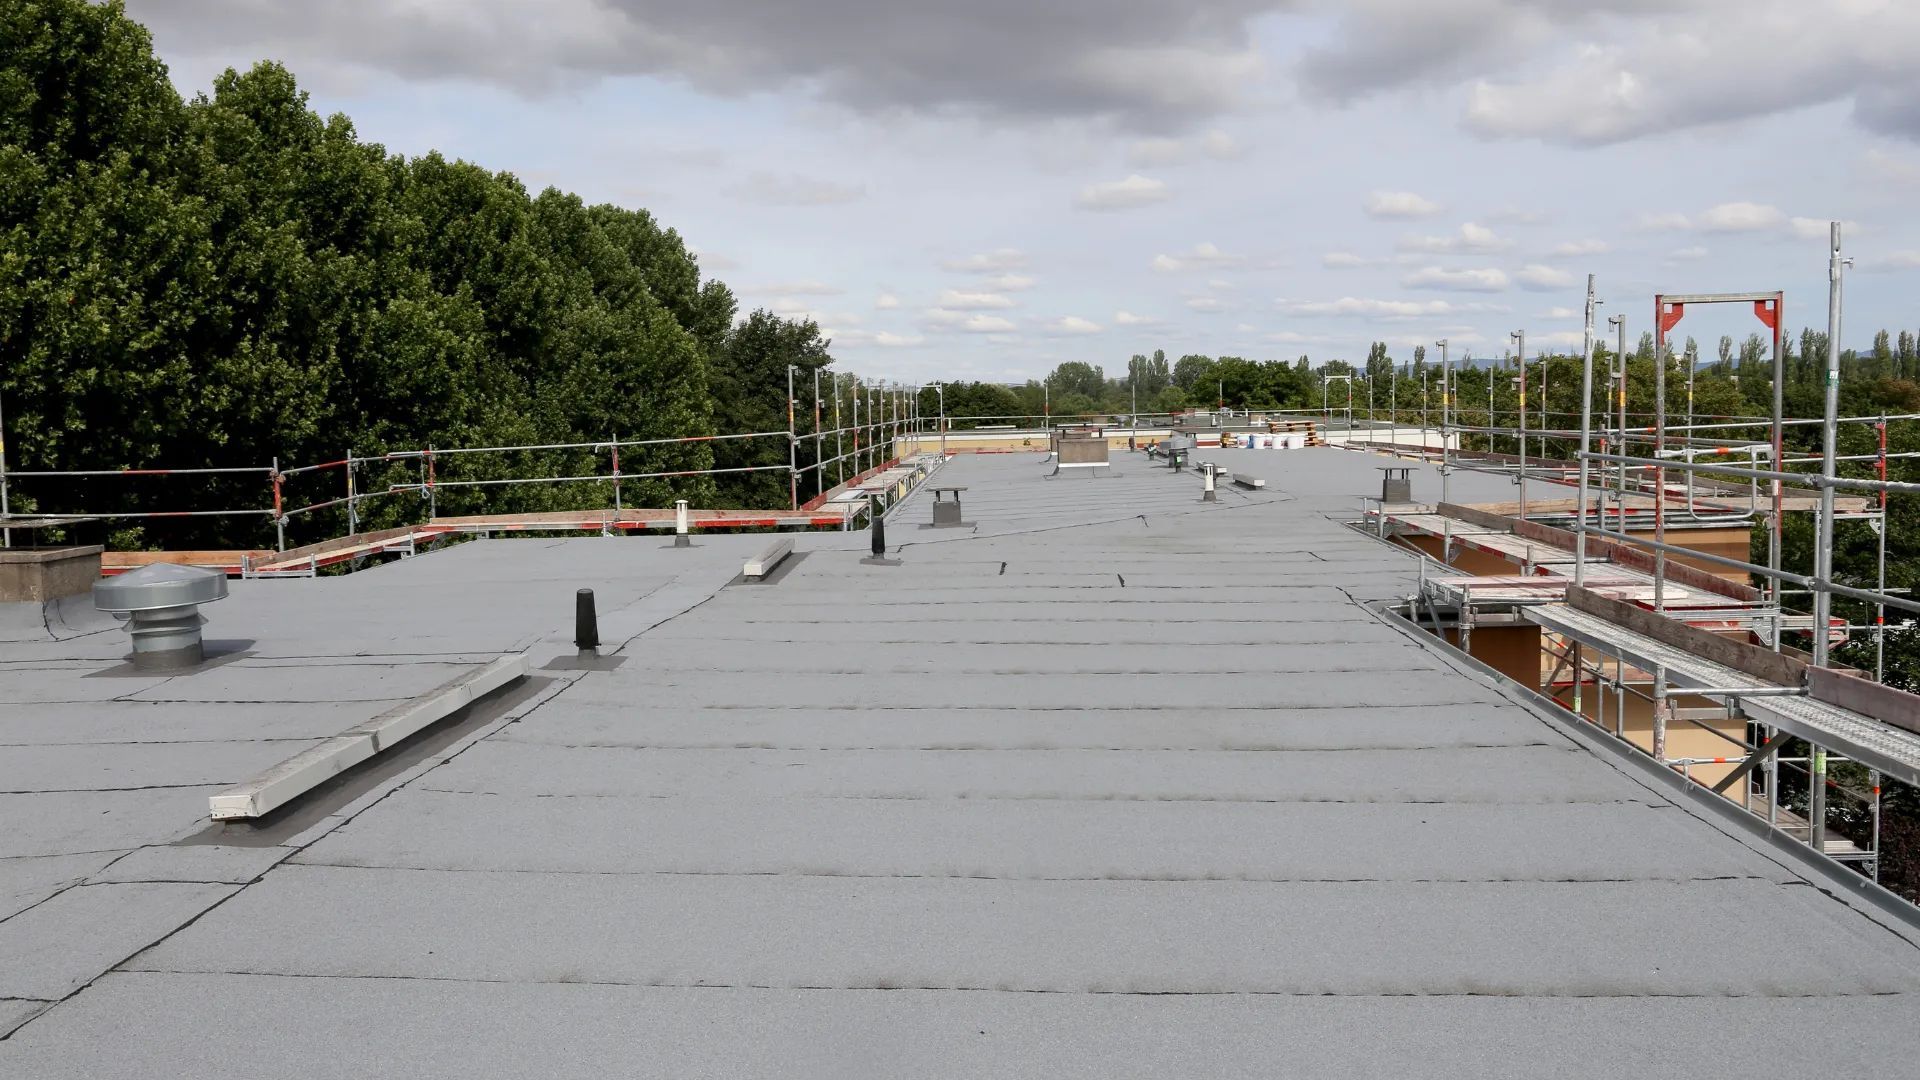
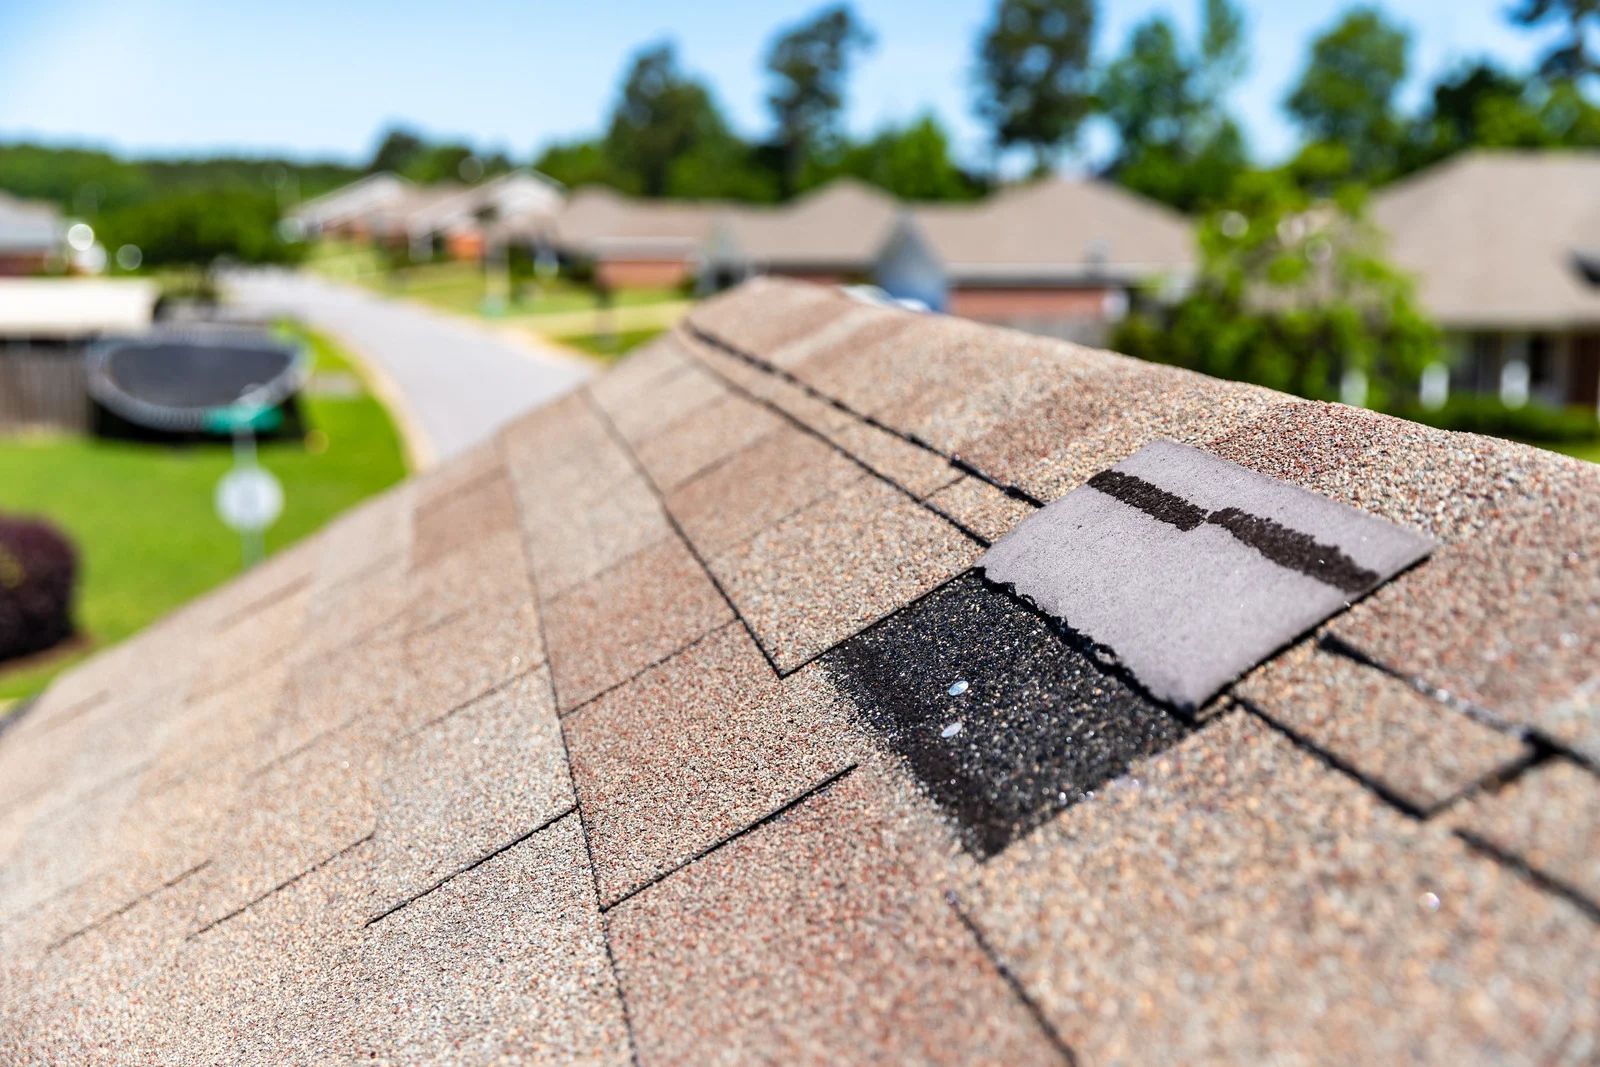
3. Roof Removal and Preparation
Removing Old Materials Safely and Efficiently
The roof replacement process begins with the careful removal of the existing roof covering. Shingles, underlayment, flashing, and other materials are stripped away meticulously to prevent damage to the underlying structure. This step is crucial to assess the decking and rafters for any hidden damage that might compromise the new roof. Proper disposal of old materials is typically handled by the contractor, adhering to local regulations, ensuring both safety and environmental compliance throughout the process.
Inspecting the Decking for Structural Integrity
Once the old roofing materials are removed, the decking is thoroughly inspected for rot, warping, or structural weaknesses. Damaged sections are replaced promptly to ensure a stable, long-lasting foundation for the new roof. Addressing these issues before installation prevents future leaks, sagging, or structural failure, saving homeowners significant repair costs and avoiding potential damage to interior areas over time.
Installing Underlayment as Moisture Protection Layer
The underlayment serves as a critical secondary barrier against moisture and also provides additional insulation benefits. Options include synthetic underlayment or traditional felt paper, chosen based on durability and climate conditions. Proper installation is essential, as it directly contributes to the overall lifespan, performance, and weather resistance of the roof. This layer also protects the home during installation if inclement weather occurs, ensuring safety and maintaining project timelines.
4. Installation of New Roofing Materials
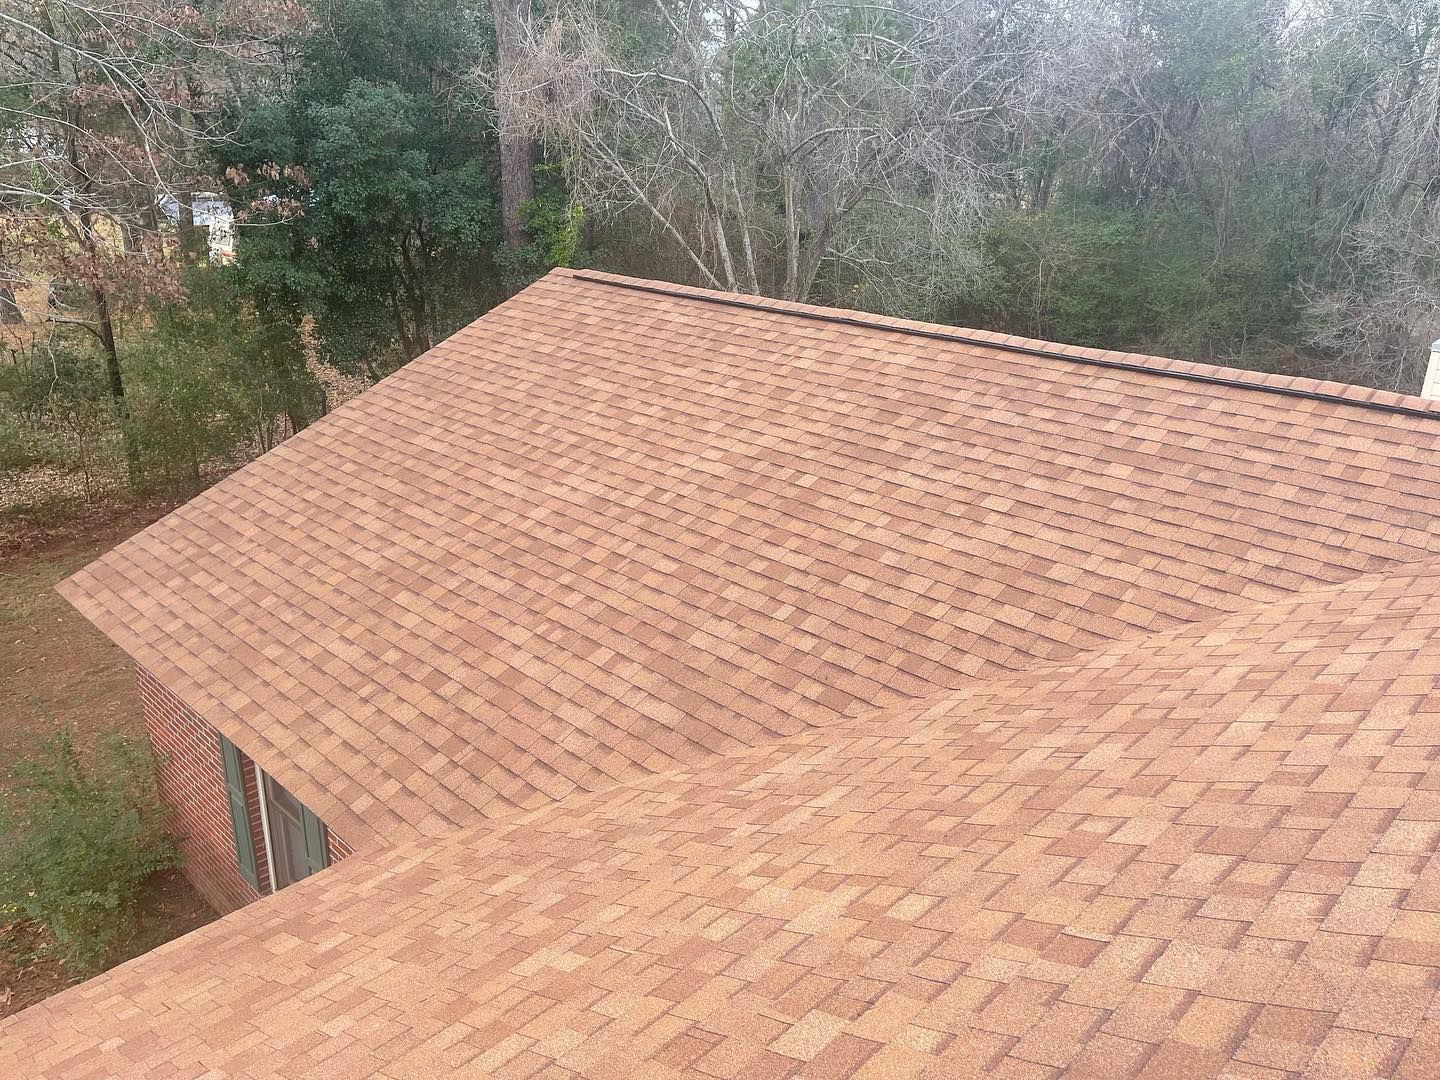
Shingle or Panel Placement with Precision Alignment
The installation of the new roofing material is the most visible and transformative phase of the project. Asphalt shingles are laid row by row, while metal panels or clay tiles require precise alignment to ensure complete coverage and proper water runoff. Contractors follow manufacturer guidelines carefully for spacing, overlap, and fastening methods, which directly affects durability, aesthetic appeal, and warranty eligibility for years to come.
Flashing and Ventilation to Prevent Leaks
Proper flashing around chimneys, vents, skylights, and other roof penetrations is essential to prevent leaks and water intrusion. Ventilation components, such as ridge vents or soffit vents, are installed strategically to maintain proper airflow in the attic. Adequate ventilation reduces heat buildup, prevents moisture accumulation, and extends the overall lifespan of roofing materials, ultimately protecting the home’s structural integrity and energy efficiency.
Quality Checks and Necessary Adjustments
Experienced contractors perform quality checks at each stage of installation, verifying alignment, fastener placement, and material integrity. Minor adjustments may be required to accommodate structural irregularities, material expansion, or slope variations. This attention to detail ensures the roof performs optimally, maintains visual appeal, and meets both functional and aesthetic expectations for homeowners.
5. Project Timeline and Duration
Typical Duration for Roof Replacement Projects
A standard roof replacement typically takes anywhere from a few days to two full weeks, depending on the size of the home, roof complexity, and weather conditions. Single-story homes with simple layouts may be completed more quickly, while multi-story or uniquely designed roofs require additional time for careful installation and finishing touches. Understanding the expected timeline helps homeowners plan daily routines and manage expectations efficiently.
Weather Considerations Impacting Project Timeline
Weather can significantly affect the roof replacement schedule. Rain, high winds, or extreme temperatures may delay installation and require temporary protective measures. Contractors plan around forecasts and often implement tarps or coverings to prevent water intrusion. Flexibility, proactive planning, and clear communication about weather-related delays allow homeowners to remain informed and minimize disruption during construction.
Coordination and Scheduling for Efficient Workflow
Scheduling deliveries of roofing materials, coordinating crew availability, and planning work phases are critical for maintaining project efficiency. Contractors often stagger tasks to ensure crews can work safely and efficiently without overlap. Homeowners can assist by providing clear access to the property, keeping pets and children away from work areas, and maintaining open lines of communication throughout the project duration.
6. Post-Installation Steps
Cleanup and Debris Disposal for Safety
After installation, the crew performs thorough cleanup, removing debris, nails, and leftover materials to ensure a safe property. Professional contractors often use magnetic sweepers to guarantee that no nails or sharp objects remain, protecting both residents and pets. Proper disposal follows local guidelines, with recycling options available for certain materials, supporting environmental responsibility and leaving the property in pristine condition.
Final Inspection to Ensure Roof Integrity
A post-installation inspection verifies that the roof meets quality standards, manufacturer specifications, and warranty requirements. Contractors may provide a checklist for homeowners, highlighting key components, ventilation, flashing, and maintenance recommendations. This final inspection ensures the roof is secure, properly ventilated, and fully prepared to withstand environmental conditions, providing homeowners with confidence in their investment.
Homeowner Maintenance Tips for Longevity
Even with professional installation, homeowners play a vital role in roof longevity. Regular inspections, cleaning gutters, trimming nearby tree branches, and monitoring for damage after storms are essential preventive measures. Following these guidelines reduces the risk of leaks, prolongs the roof’s lifespan, and preserves the investment made during replacement. Proper maintenance also ensures the roof continues performing efficiently and protecting the home year-round.
Trusted Contractors Committed to Excellence in Every Project
A roof replacement project involves multiple stages, each requiring careful planning, preparation, and execution. From initial assessment and material selection to the final inspection, understanding the process helps homeowners navigate the project confidently. Proper preparation, clear communication with contractors, and awareness of timelines and potential challenges are key to ensuring a smooth, efficient experience. By following best practices during each phase, homeowners can achieve a durable, aesthetically pleasing roof that enhances the safety and value of their home.
Top to Bottom Insulation, an experienced insulation contractor based in Monmouth County, NJ, brings 10 years of trusted expertise to every project. Our team understands the importance of protecting a home’s structure and maintaining energy efficiency throughout the roofing process. We combine professional knowledge, high-quality materials, and attentive service to ensure every project meets rigorous standards. Homeowners can rely on us to provide clear guidance, meticulous workmanship, and consistent communication from start to finish. Choosing Top to Bottom Insulation means partnering with a company that values transparency, quality, and customer satisfaction, delivering peace of mind with every roof replacement. Whether addressing structural integrity, insulation needs, or weatherproofing, our team is committed to excellence and long-term performance, making us a trusted choice for Monmouth County residents seeking reliable roofing and insulation solutions.